Friday 12 September 2014
Review: Clinique
Gradi-addict
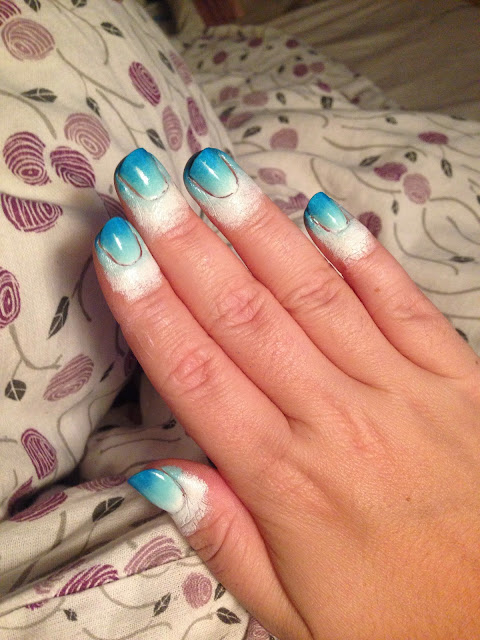
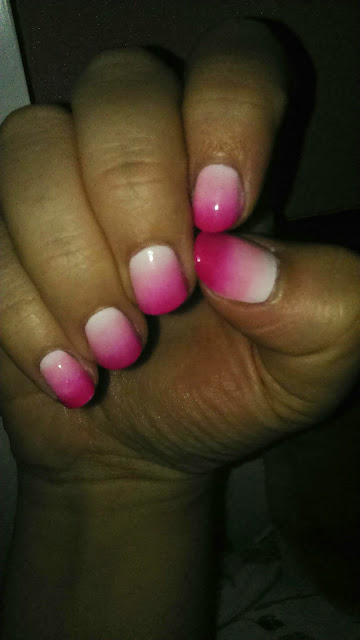
I must confess. I am in love. I keep falling back to the same base manicure and love how versatile it is. Gradients!! Simple quick and easy to do.
Think 95% of my recent manis have included a gradient!
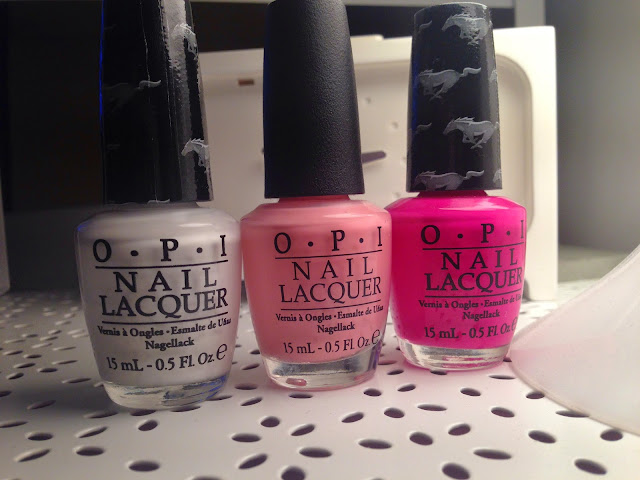
I usually pick 3 colours as it creates a good blend and any more than 3 I feel my nails are too short to carry off.
I either pick colours from the same family (ie pinks, reds, greens) or a selection of colours to create a scene (like a sunset). I paint my usual base coat, followed by one coat of the lightest colour or white. Wait for this to fully dry then take a triangular make up sponge, dampen it slightly then paint 3 equal stripes of my chosen polish in the order I want them to be one my nail.
I then dab the sponge onto my nail in a horizontal rocking motion, I also move it up and down the nail slightly; this blends the colours better. I do one hand at a time.
Work from thumb to pinky, reload the sponge then work from pinky to thumb. I repeat this until I've achieved the look I was after then top coat. I top coat whilst my gradient is still slightly damp and this also helps blend the polish better.
It can get pretty messy and people often use PVA glue or tape around their cuticles to reduce clean up but I don't get on well with these methods.
Personally I use lint free wipes to take away the majority of the mess, go in with my clean up brush. Then I go in again with a lint free wipe and clean up brush for a second time to get a much cleaner and crisper mani. I also don't use acetone on my nail I use Sally's Beauty Non-Acetone Polish Remover, I get a huge bottle of it and it lasts months. Well worth it.
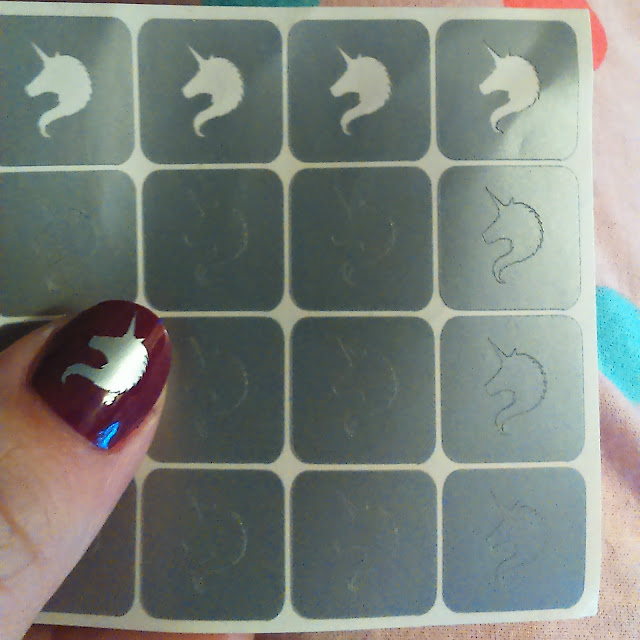
When this is fully dried I either leave it as is. Or I add stamping. Stamping is another love of mine and so many versatile plates about now you can do so much.
I've even created gradients within the stamping.
I have also done a technique known as reverse gradient. Where you cover parts of your nail with striping tape or vinyl patterns and sponge in the opposite way to which you sponged initially. For example if your lightest colour in your initial stamping was at your cuticle, for the reverse gradient it will be at the tip of your nail.
As always please subscribe. Follow me on instagram @cara_mia88 for lots of nail pictures but also random snippets of life!
Sunday 7 September 2014
My Second Passion
I love experimenting with make up, but in everyday wearable styles. A pop of colour here. Eyeshadow for eyeliner. So thought I'd stray from nails for a post and share my current obsession for my make up.
I've done bold colours as eyeliner in the past but seen a new trend eeking in of colour along the lower lash line. I had to try it and I have to admit I love it! I do a nude look on my lid, with a very thin streak of liner (which is usually eyeshadow for me as I find it lasts better) then a dash of colour along the lower lash line and blend it out. Yesterday I did orange which I liked but I had a comment saying I looked like the walking dead when they bleed from their eyes (I didn't take offence it made me laugh a lot!) but today I tried a blue/green/turquoise colour and love the outcome. I blended into slightly so the colour gave the slight cat eye flick rather than the black!
The products I used were:
Benefit -
Porefessional. As initial primer to even out my skin.
Boi-ing concealer in 02 to hide some blemishes and disguise my under eye bags.
Stay Flawless 15 Hour Primer to create an even base for my BB cream and help my make up last the day for work.
Big Easy BB Cream in Medium. Love this BB cream, liquid to powder and lovely coverage. Great to use on its own or layered with foundation
They're Real Mascara. My all time favourite mascara. Long lasting. Non flaky. I have long curly lashes anyway and usually struggle with having my mascara not last well or clump. This is perfection!
Hoola Bronzer. This is a new buy for me but a big wishlist item for a while. I love bronzes but not keen on shiny ones. This is matte and great for contouring as well as giving an all over bronzed feel.
My eyeshadows all come from Urban Decay. Urban Decay and Benefit are my weakness (as you can probably already tell!)
Upper Lid: From the Naked 3 pallet I used "Strange", "Limit" and "Buzz" in horizontal lines up from my lash line and blended together to get a nude yet warm look. I then used "Blackout" from the Naked 2 pallet as a thin streak of eyeliner along the lash line.
Lower Lid: From the Electric Pallet I used "Gonzo" I took an eyeliner brush and as close to my lash line I did a thin streak, I then took a fluffy eyeshadow brush and blended out a little. I did this a few times to build up the intensity of the look I wanted then went in again with my eyeliner brush and brought Gonzo up and did a cat eye style flick.
I will definitely be recreating this look and using lots of my other colours in my Electric Pallet!
Let me know if you want more make up looks and I'll post them in with my nail creations too.
As always please subscribe. Follow me on instagram for more updates and randomness from me @cara_mia88
Something A Little Different
Saturday 6 September 2014
My Love Of Stamping
Most people who follow me on instagram will know just how much I love stamping. It's a quick and easy way for me to have something a bit different on my nails without having to sit there for hours doing it all by hand.
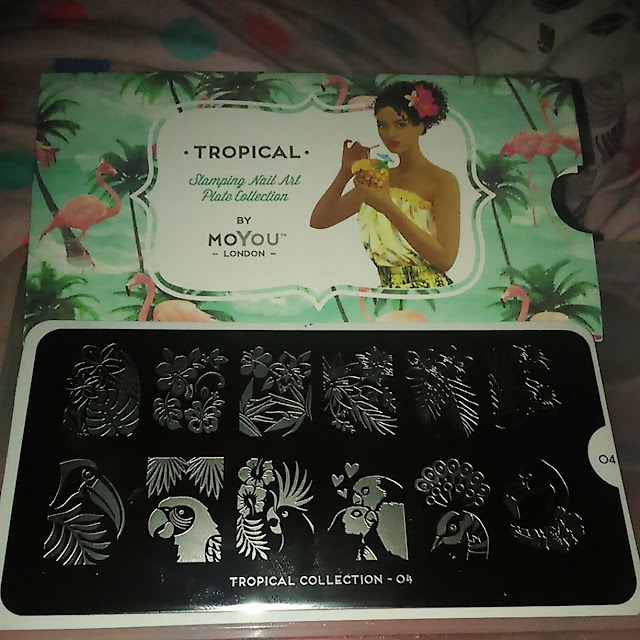
So last night I had a bit of a play with one of my new Moyou London plates.
(Tropical 04 XL)
My base colour is Nails Inc Optic Wave. This polish came free with a colgate toothpaste I purchased from Boots a while ago. Lovely formula, 2 coats and top coat and it's good to go!
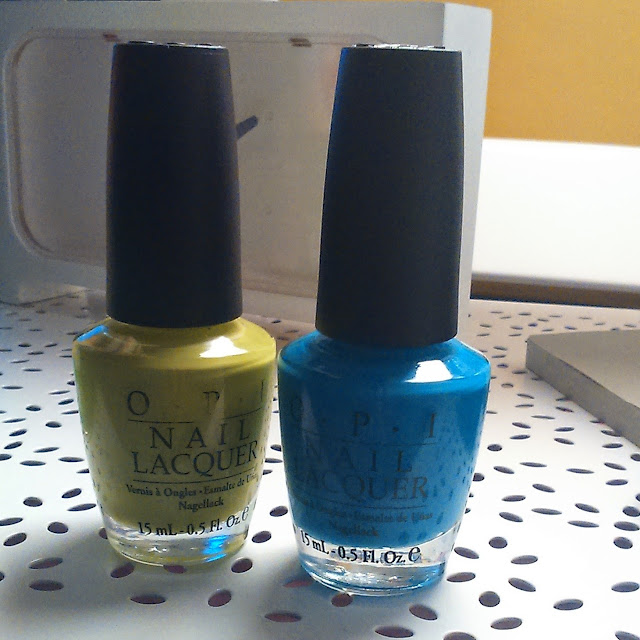
I chose 2 "new to me" polishes that I've purchased from some personal destashes friends have had. Both by OPI; Ogre The Top Blue and Who The Shrek Are You.
These stamped lovely as they're such opaque colours they pop which is what you want from stamping polishes!
Here's what I came up with.
Summery but not too OTT.
More looks coming up soon so please make sure you subscribe to my blog and follow me on instagram @cara_mia88 for posts and updates!

